June 13, 2017
Backlighting Your Subjects | Wedding Photography Tips
Filed in: Photography Education
Conventional wisdom, and conventional photography, dictates that the sun goes in front of your subject. That way, they’re nicely lit and don’t end up as silhouettes, right?!
Wrong. Oh so very wrong.
Professional cameras give you so much flexibility. Once you venture away from the automatic settings, you can control your exposure so that you subjects are evenly and beautifully lit, even when the light source is behind them.
I’ll get to the how in a second, but first I’ll start with the why.
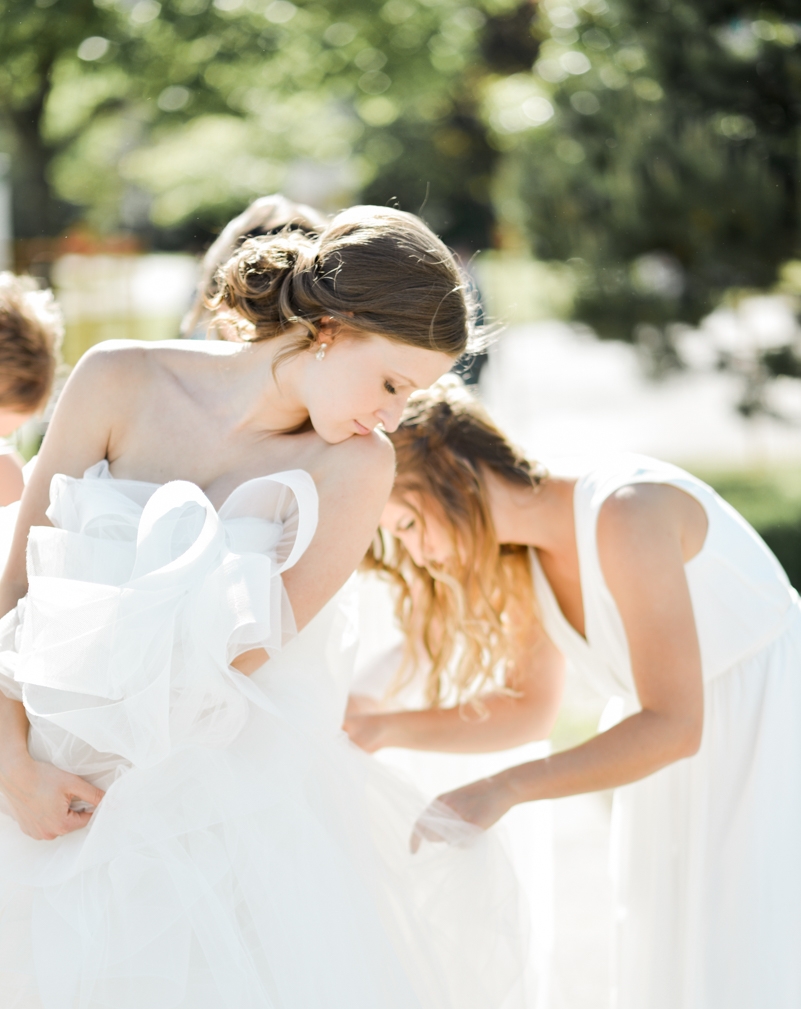
Why backlight your subjects?
1. Direct sunlight is unflattering
The sun is the brightest source of light we have around. We appreciate it for giving us our warm summer days, however, it makes us look real bad when it shines directly on our faces. Not only does it cause most people to squint, but it’s hard quality creates harsh shadows, bad lines, and brings out the flaws that we would rather keep hidden.
If you’re a wedding photographer, there’s no doubt you need to learn how to work with this kind of lighting.
2. Backlight is soft light
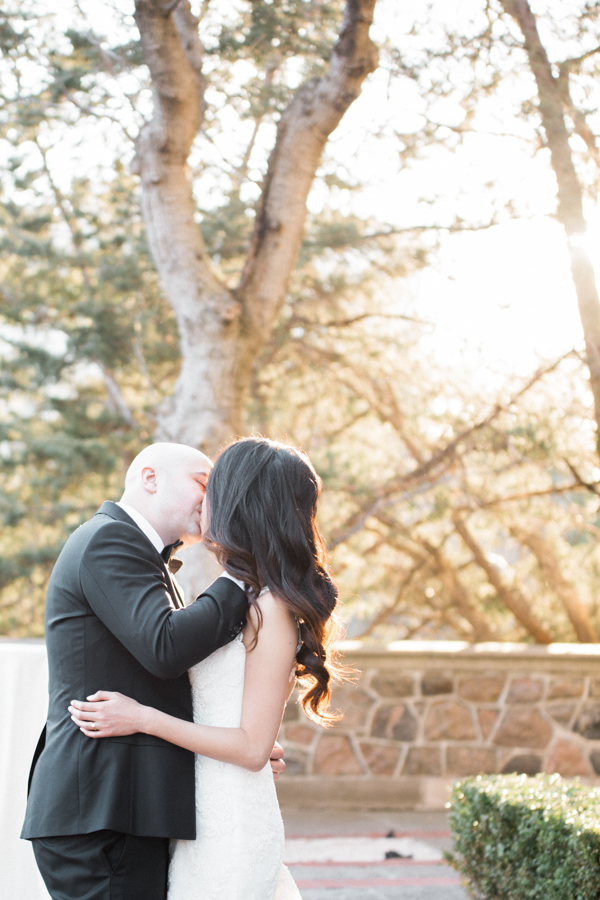
When you place your subject in between your camera and the sun, magic happens. The ambient light that falls on their faces becomes much softer and more diffuse. This is much more flattering. Your brides (and grooms) will thank you.
3. The halo effect
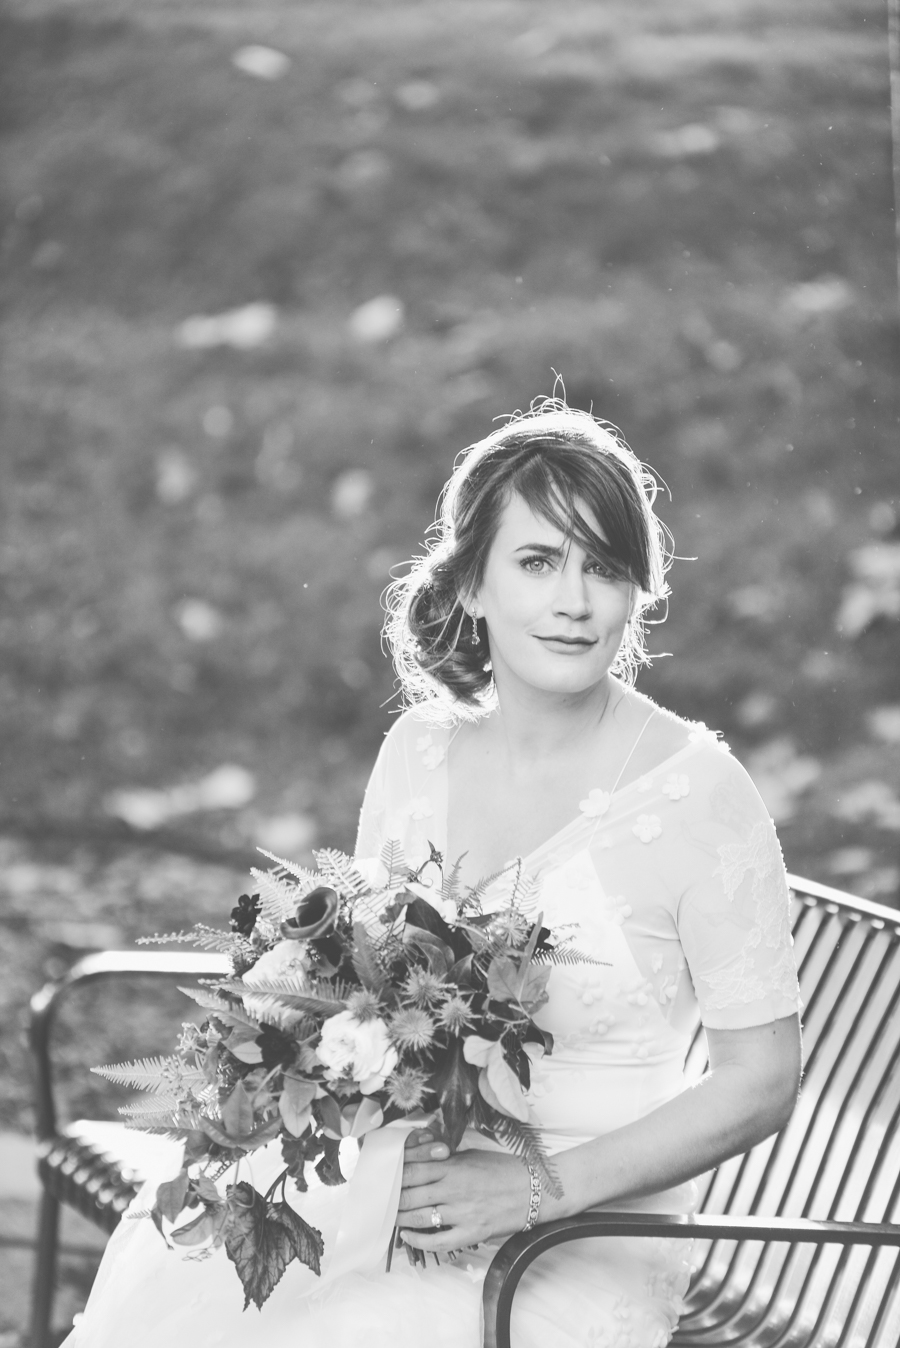
This ridiculously beautiful light is only possible through backlight. It lights up your subjects’ hair with a lovely glow. If there’s a veil involved it’s even better.
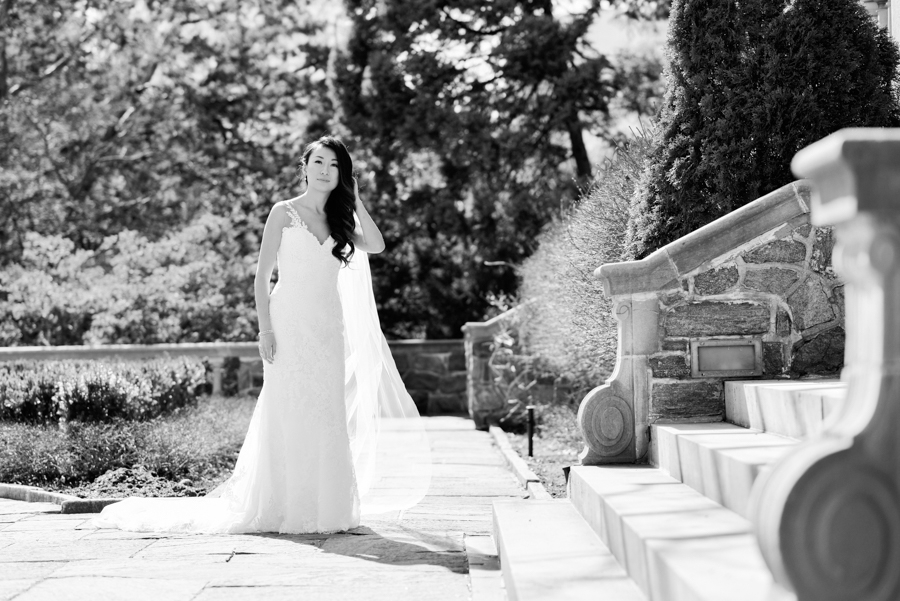
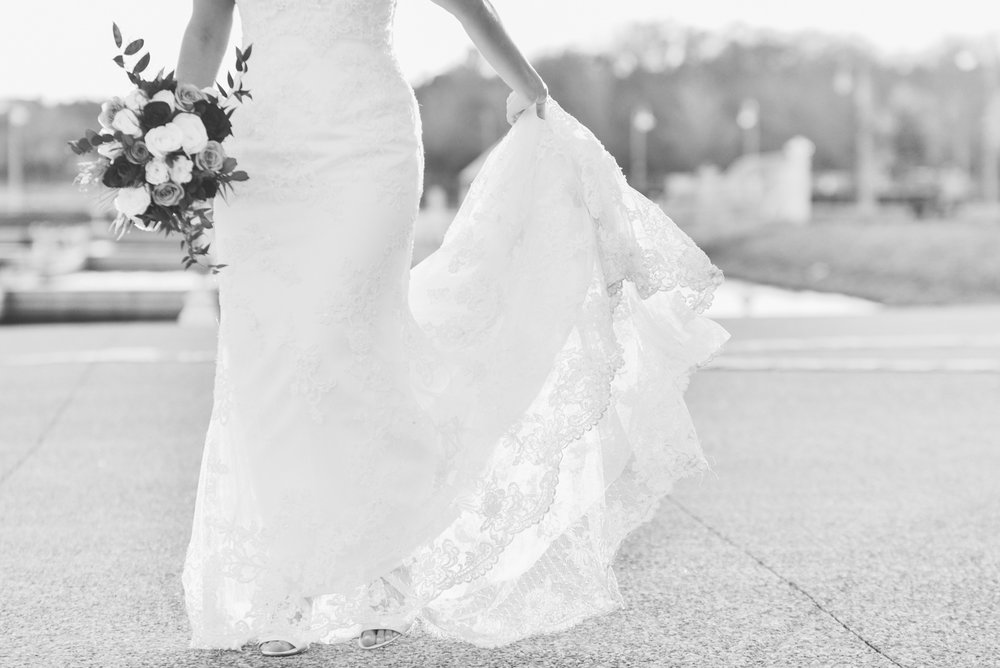
The sunlight also looks beautiful when shining through a wedding dress, bridesmaids dresses, and basically anything else.
4. Flare
I LOVE flare. That being said, you have to use it sparingly and carefully. More on this below.
So hopefully you’re convinced, now on to the “how”.
Tips for Backlighting
1. Expose for the shadows
More often then not, when you’re backlighting, the subject is the darkest part of the image. If you make sure they’re well exposed, you’ll get that beautiful, bright look. And no silhouettes!
“But the sky is blown out!” Yes, yes it is. Forget what they told you in photography school. The sky isn’t your client. It’s your job to make your clients look as gorgeous as you can, and backlighting will do that.
2. Block the light
If the sun shines directly into your lens, bad things can happen. You may get waaaaay too much flare which leads to low contrast, unclear images.
You can block the light from hitting your camera directly with the subjects themselves, a tree (as in the image pictured below, left), etc. Lens hoods help as well.
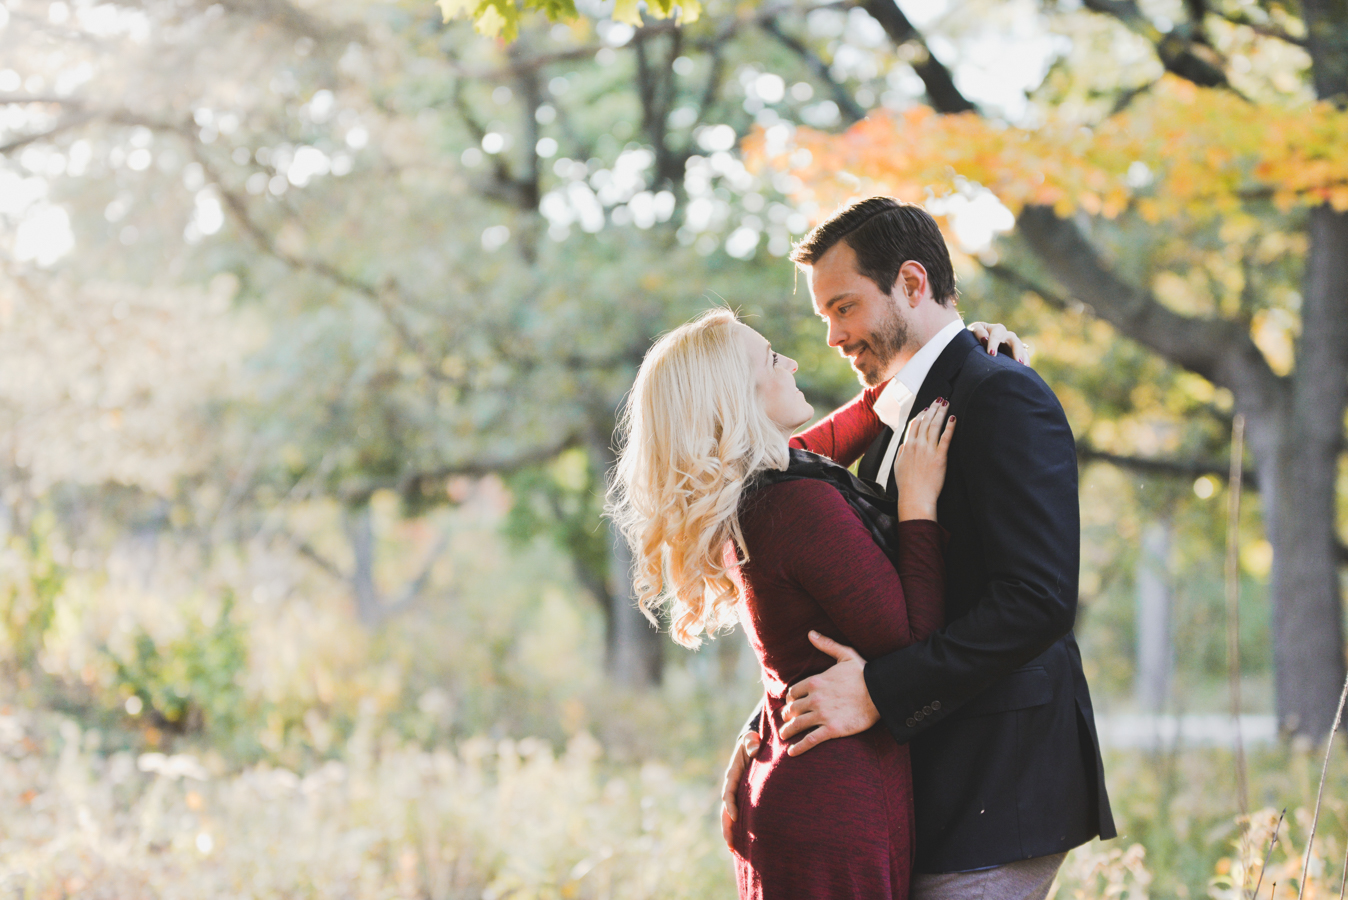

If you’d like to experiment with flare, let that direct light peek through just a tiny bit. You want to obscure most of it, but a small amount will create a beautiful effect. You loose a bit of contrast, but it’s well worth it, as you can see from the pic above right.
3. Shoot at sunrise or sunset
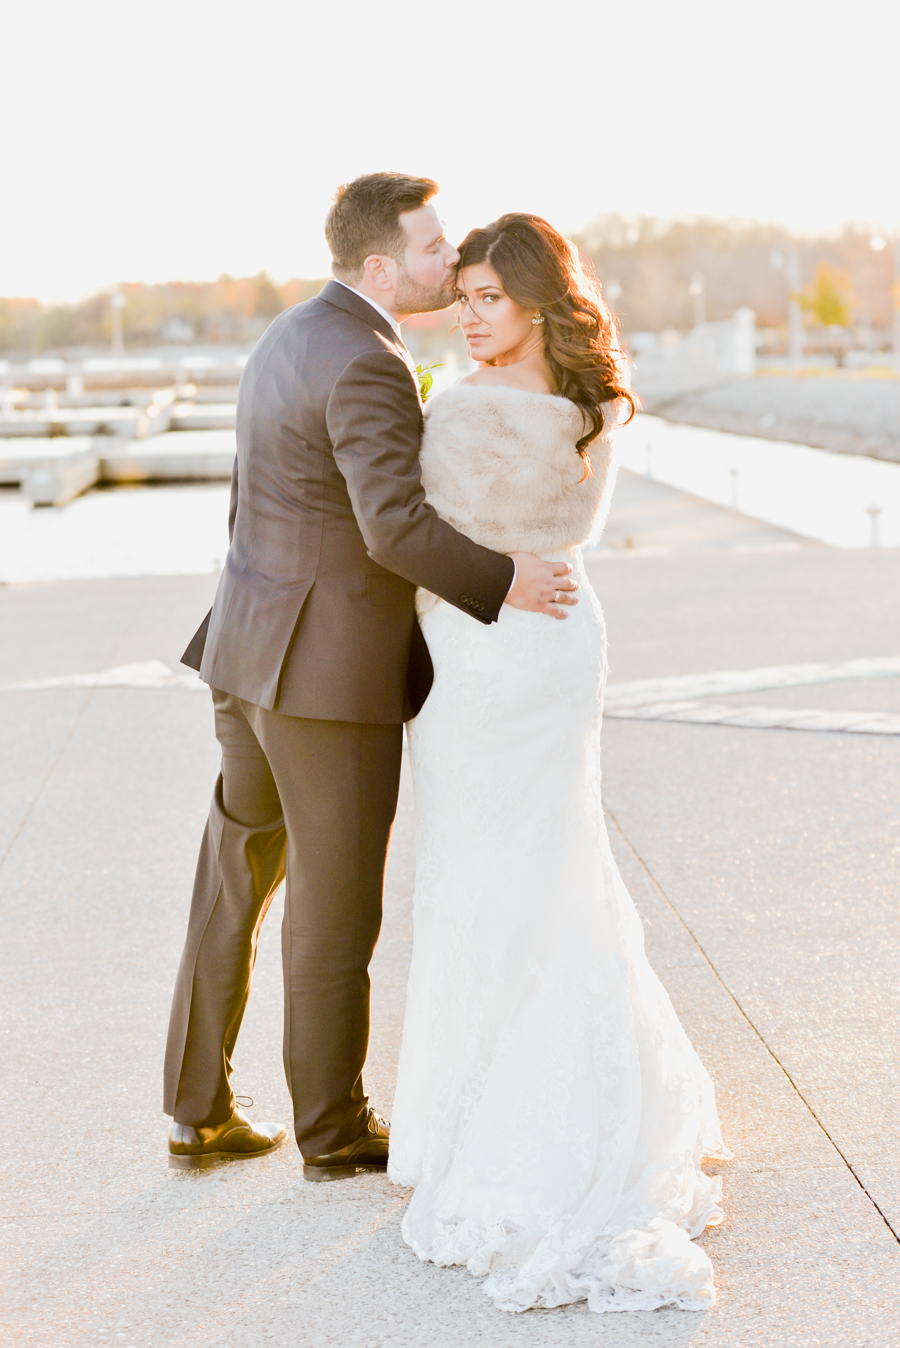
Being the worst morning person ever, it’s sunset all the way for me. When the sun is lower in the sky, it’s softer, warmer, and easier deal with.
Unfortuantely, you’ll often find yourself doing wedding portraits in the middle of the day due to scheduling logistics. But even in the afternoon, the sun has a direction. It may not be as low in the sky, but you can still put it behind your subjects.
What if it really is high noon and the sun is directly overhead? Well, you’re SOL as they say. That’s what shade was created for.
Experiment with these wedding photography tips, and see what happens! I promise you’ll be happy.
on instagram
@alixgould
Follow along for the most recent work, wedding inspo and photography tips.
comments +